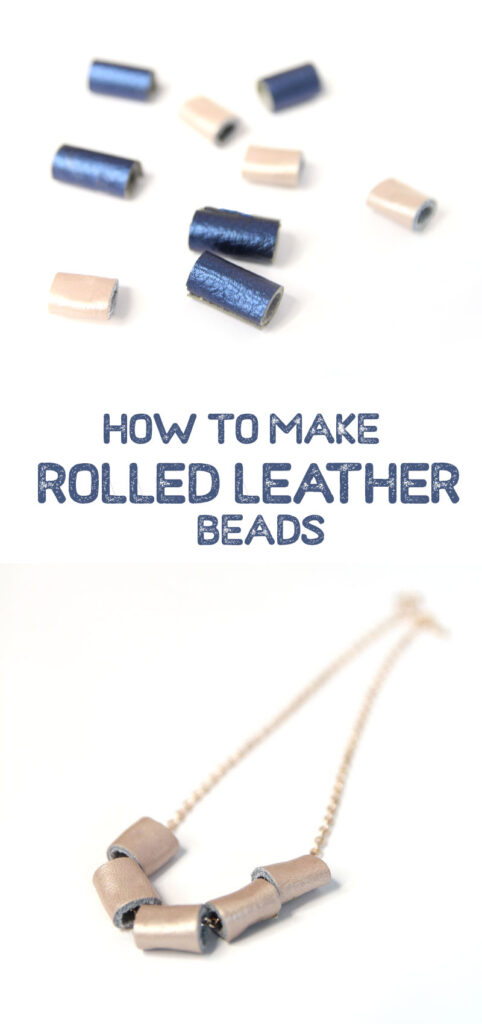
Learn how to make rolled leather beads with this easy DIY! Then check out more things to make with leather scraps. This post contains affiliate links.
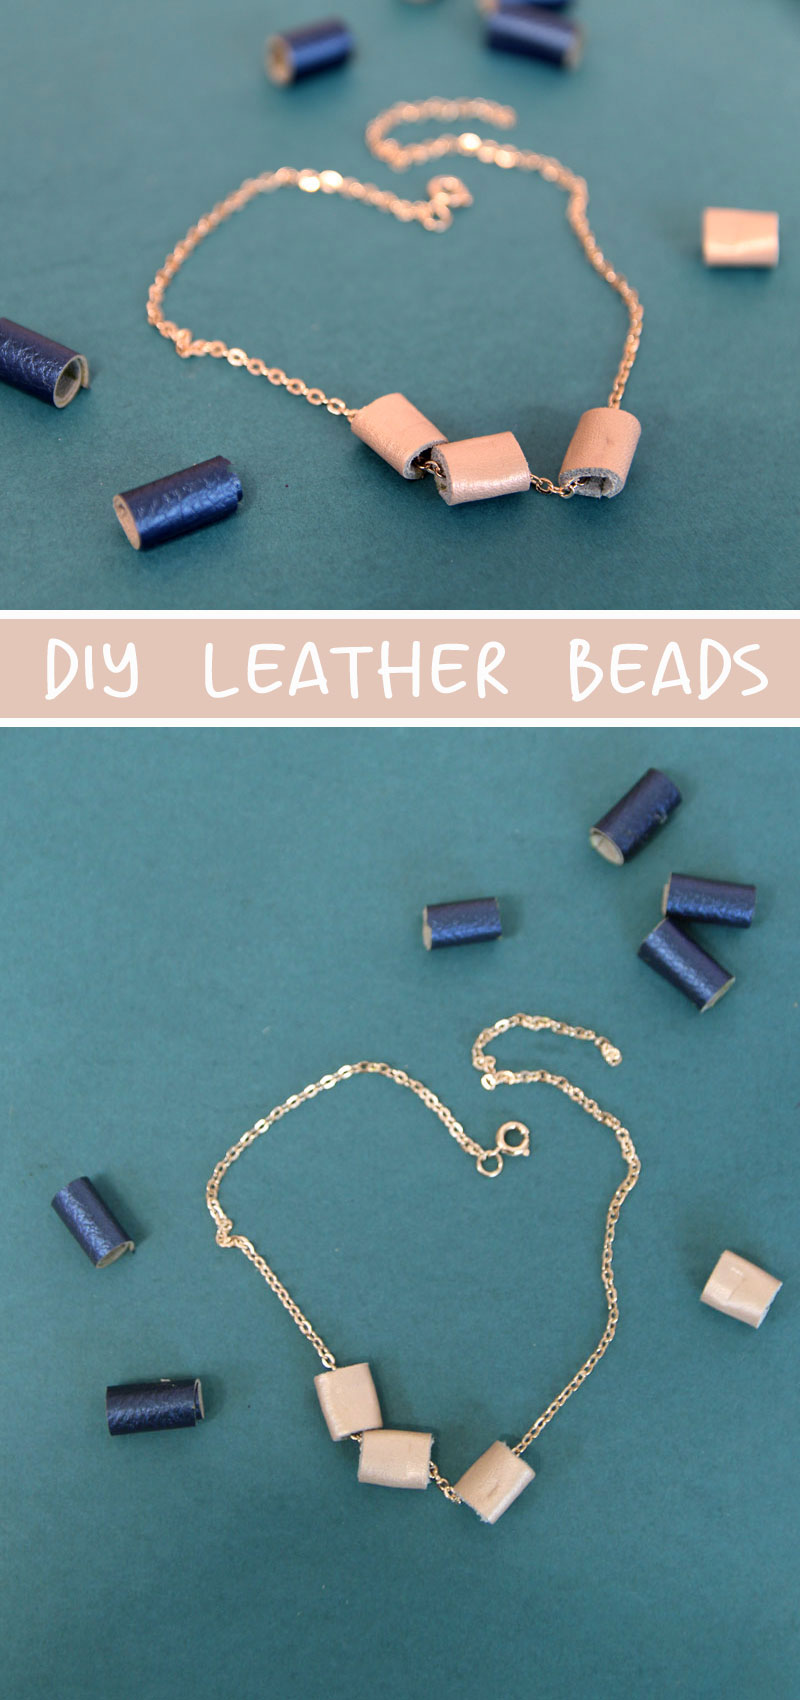
For a while, I have on my “to craft” list to try making rolled leather beads. It’s one of those things that I figured would look so chic, but I just didn’t get to.
Table of contents:
The cool thing about leather beads is that, while leather does not usually produce very minimalist results in jewelry making, leather beads are so classy and refined.
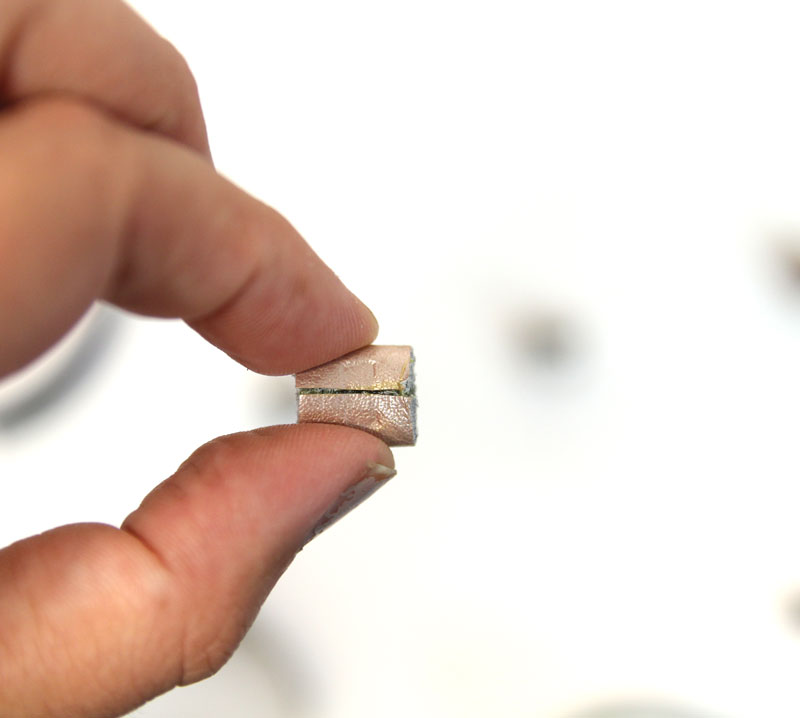
And the best part: you can use the tiniest of scraps to make this.
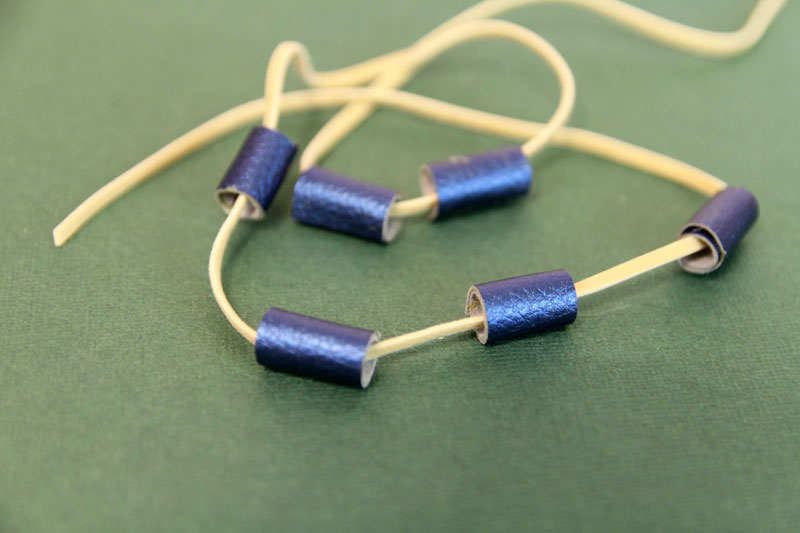
Tips and ideas for how to make leather beads
There are two types of leather beads featured in this tutorial:
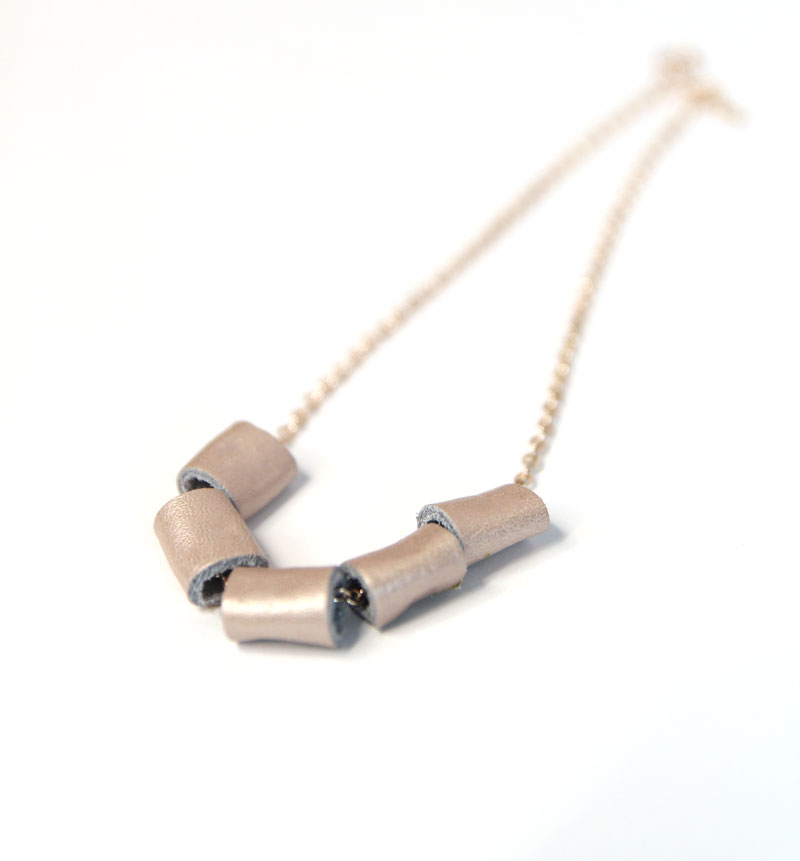
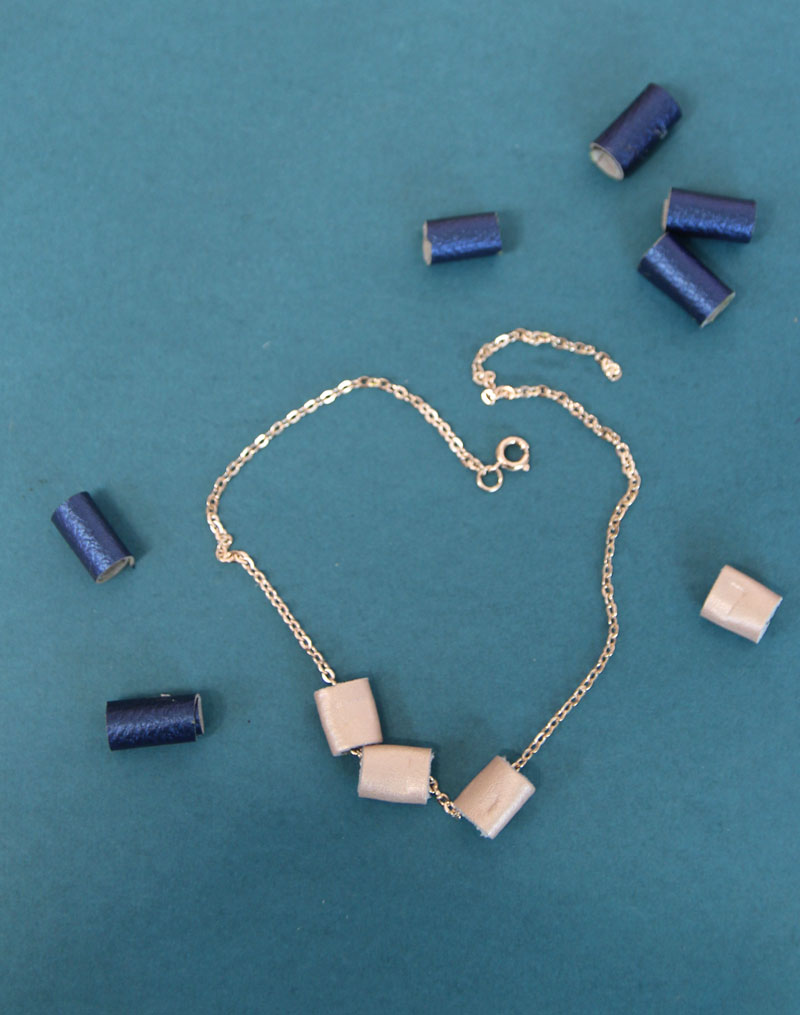
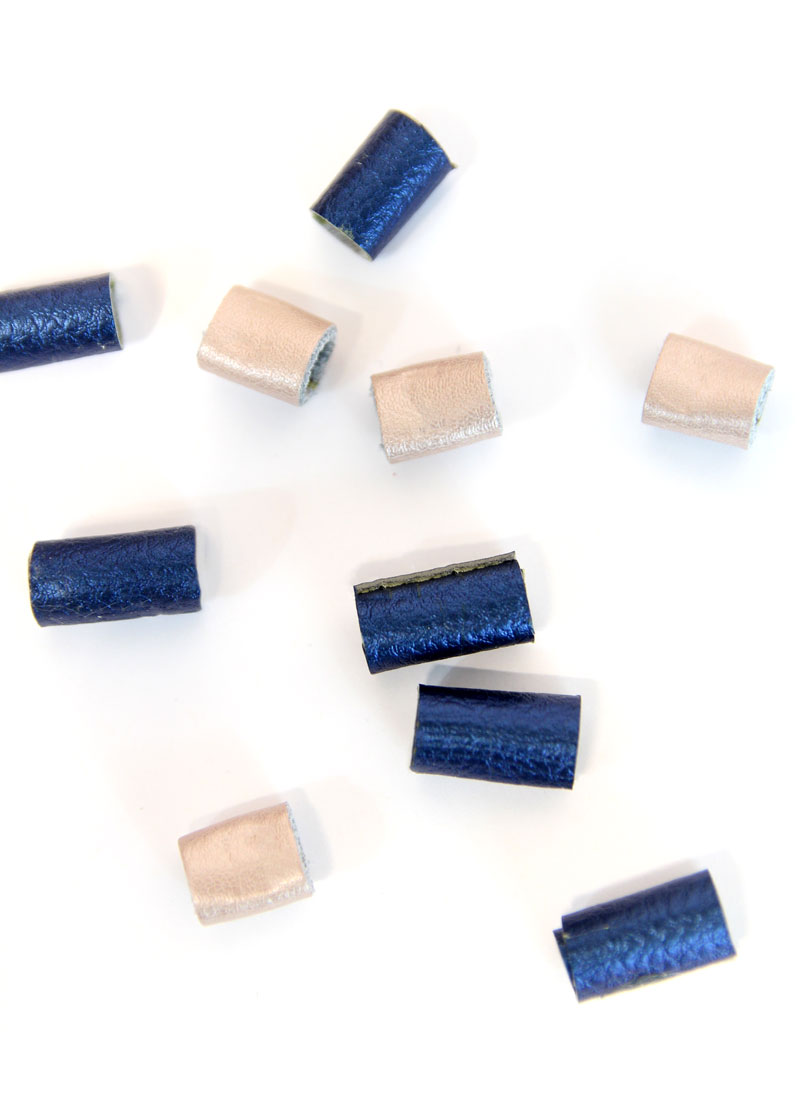
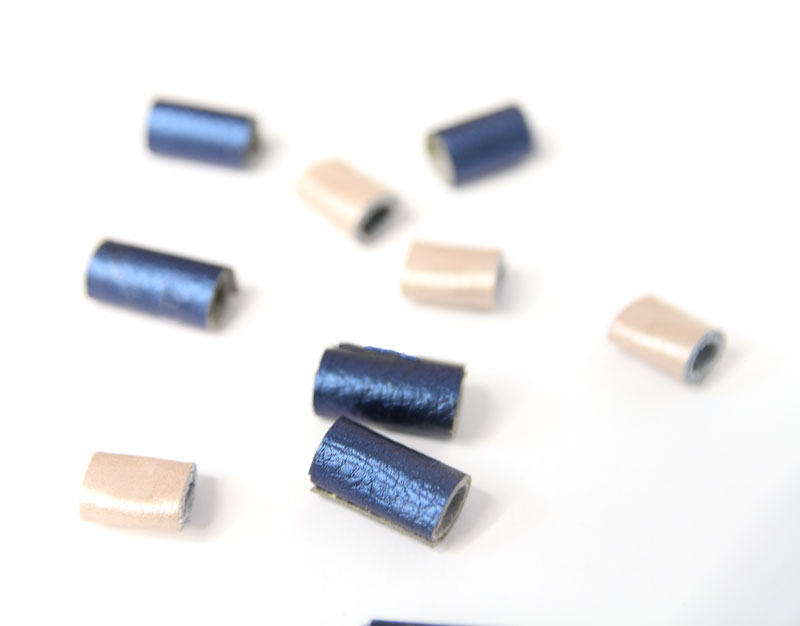
- Genuine leather beads – I used scraps from Cricut genuine metallic leather for this. You can also use leather from scrap packs. You’ll want something thick, as these are made without overlapping. You want a bit of a surface to glue the two sides of your leather together.
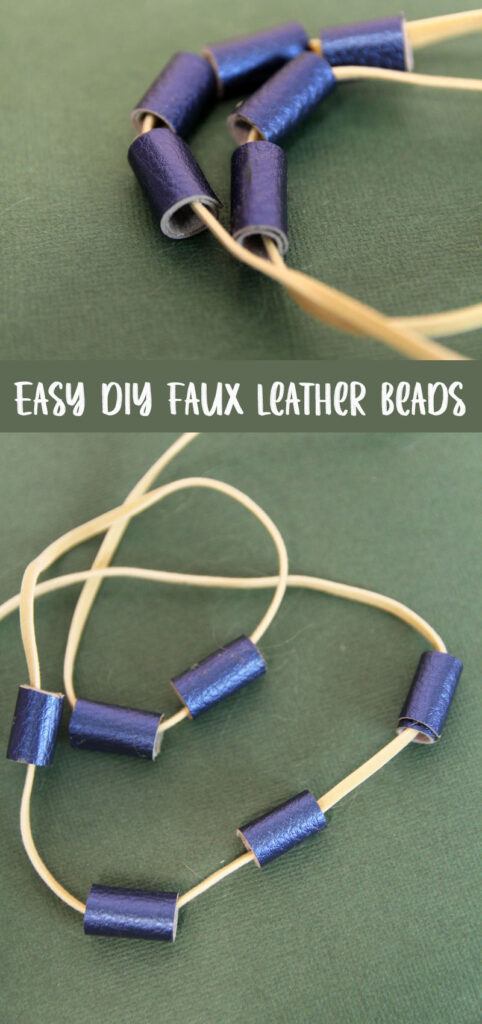
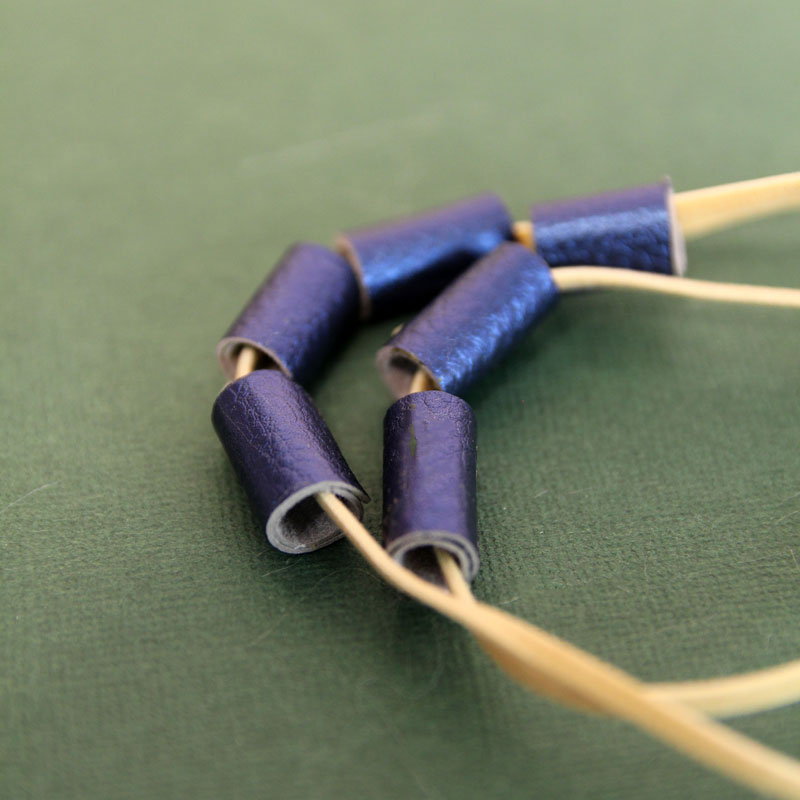
- Faux leather beads – The reason that this is so different, is that no matter which faux leather you use, it’s most likely thinner and/or more fabric-like than genuine. I used Cricut’s very thin faux leather. To make these, I overlapped them twice. You’ll want to do the same if you’re using a more classic, thicker faux leather as it’s also less stiff. You can go paper bead-style on these as well, and cut them so that they’re tapered. I kept it consistent and simple.
Do you need a Cricut to make leather beads?
The short answer is, no.
You start with a basic, rectangular shape that you can make with a knife and ruler. However, it’s also very easy and clean to cut on your Cricut, if you have one, and a great practice leather project.
If your Cricut doesn’t cut all the way through, the scoring will still very much help. In fact, even when using a knife and ruler, I only scored it with that and completed the cut with scissors.
In addition, any imperfection will show. The Cricut Maker family, with the knife blade, get you a very clean cut. So while it’s not necessary, and might not be worth it if you’re only making a couple of leather beads for a small project (or using irregular scraps), if you’re making a lot of these, I’d definitely pull out the Cricut.
I created a “project” you can use in Design Space so you don’t need to set it up.
Which glue should you use for gluing leather?
The absolute best glue for a permanent bond in leather is contact cement. That’s what I used to make these.
To use contact cement, spread a thin layer using a paint brush you don’t mind ruining on each side you plan to glue. Let it sit according to package direction (about 15-20 mins) and then glue. It bonds immediately, but needs more time to fully dry.
When using a material like leather, that’ll resist the curling a bit, this quick cure time really helps.
I tried using other glues for this, namely Krazy Glue for the instant-bond quality. However, it absorbed into the leather too much and didn’t quite work.
With contact cement, you do want to make sure to keep things neat as it doesn’t look pretty if it shows.
Another option that I haven’t tried, that’ll likely work, is E6000. You will need to have a way to hold it together until it cures.
I used contact cement for the rolled faux leather beads too. You probably don’t need it for that, as it holds better on its own until it cures, due to the larger glued surface area.
Next time, when I’m only making those, I’d rather try E6000 or even Krazy Glue again.
What you need to make DIY leather beads
Hand cutting:
Cricut cutting:
Love this post and want more like it? Hit “Thank the creator” in the sidebar, the beginning, or end of this post, and send over some confetti so I know to create more like this! You can choose from free or paid stickers. Any sticker shows me you loved this. Paid stickers sponsor the coffee to fuel the next post.
How to make leather beads
Making genuine leather beads
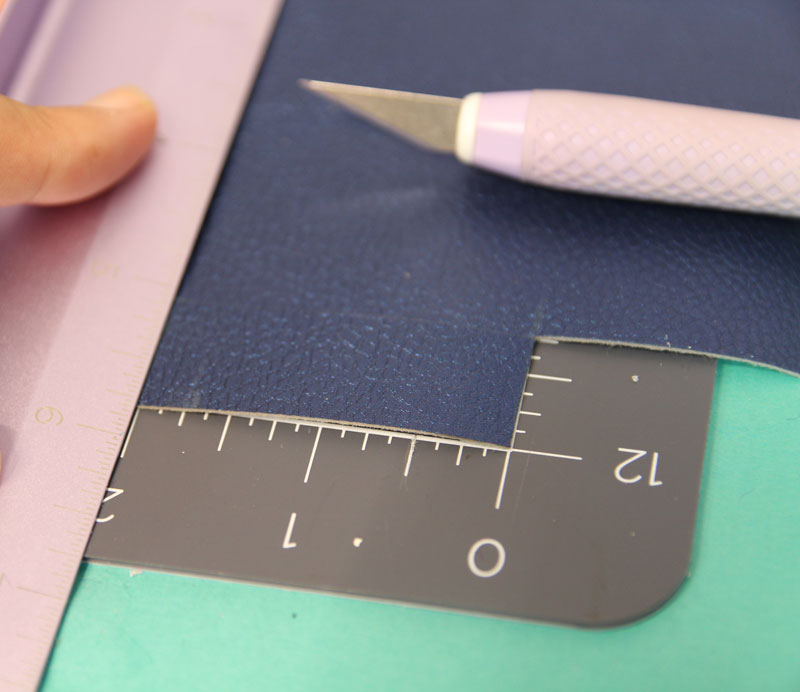
1- Cut your leather to the width you want by 1 inch using your preferred method (hand or machine). I made mine 1/2 an inch wide. If you’re using your Cricut to cut, you can customize or recreate this project.
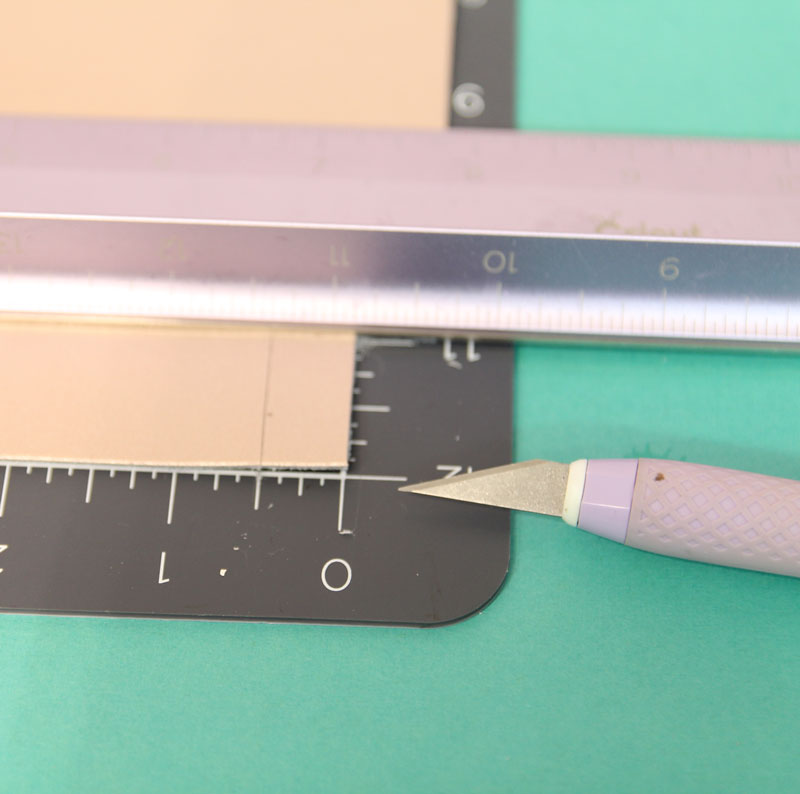
2 – You may prefer to score it with your knife/Cricut and then finish cutting by hand.
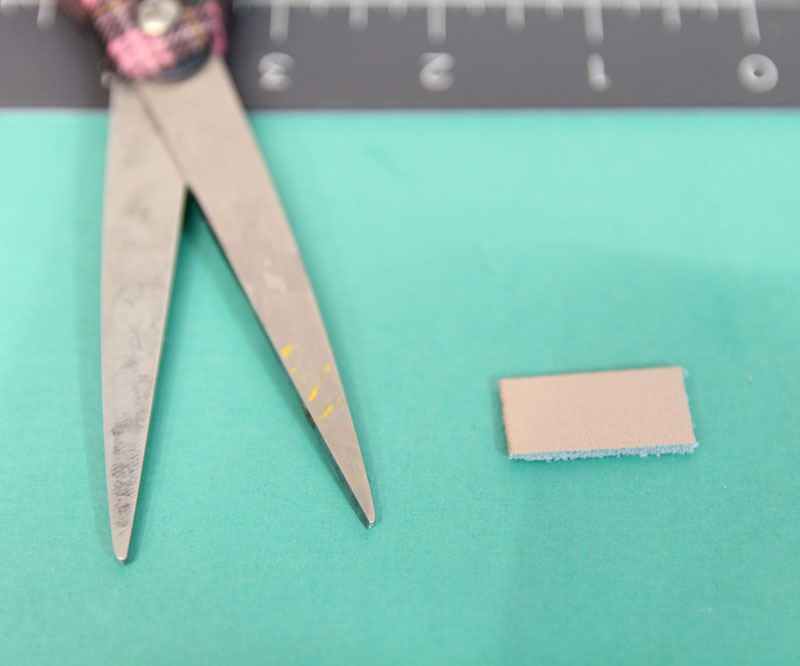
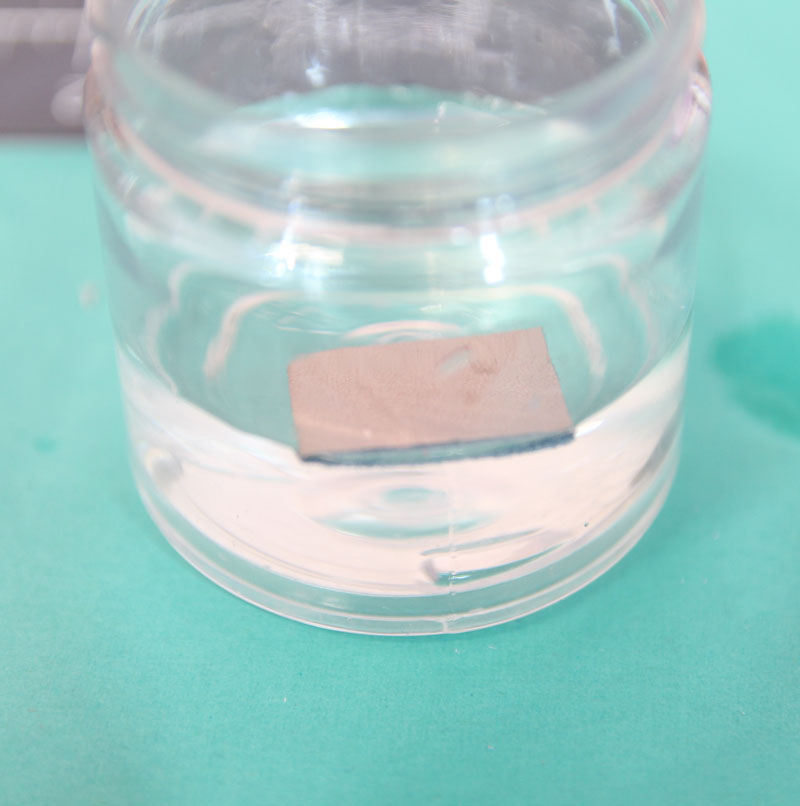
3. Wet your leather thoroughly. I dropped each piece into a jar of water as I cut them.
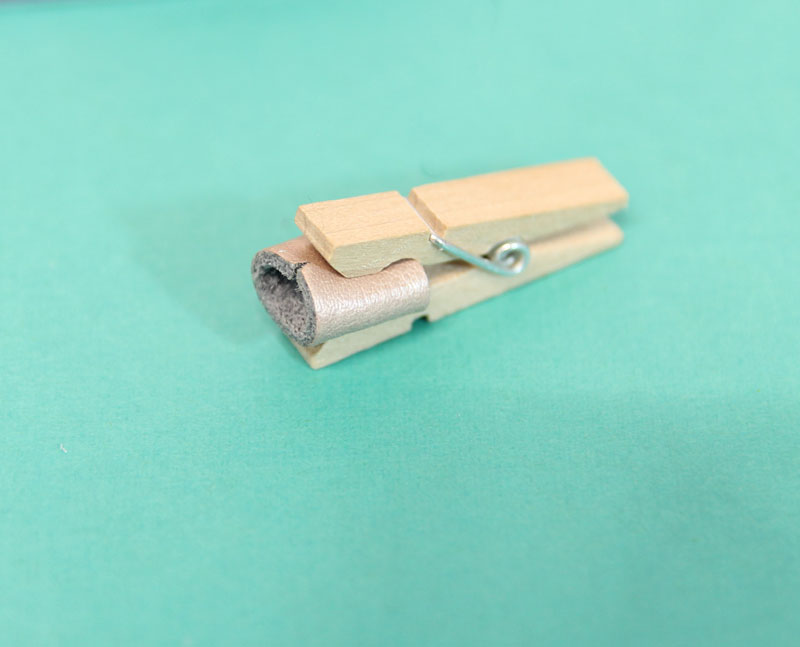
4. Roll your leather beads so that the two edges will connect and clamp them to hold until they dry. Note: I recommend using something that won’t mark your leather. Larger, rubber edged clamps or something that’ll hold the whole thing with a flat surface will work better than mini clothespins.
5. When it’s dry, unclamp. Spread a thin layer of rubber cement on each edge. Allow it to cure for 15-20 minutes, or according to package instructions.
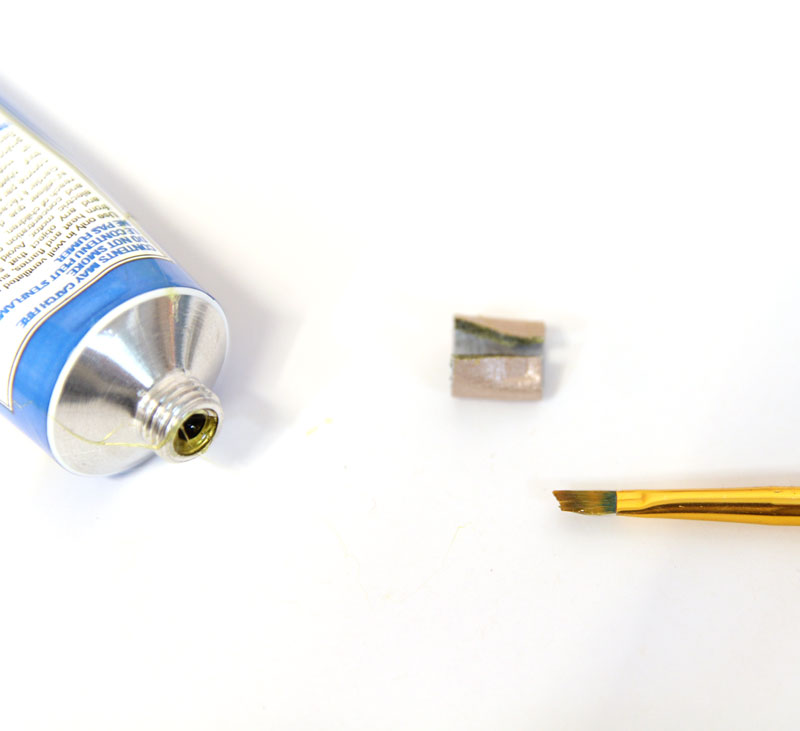
6. When cured enough, connect the two ends and hold in place for a second or two. Like magic, it’ll instantly glue! Follow package instructions for wait times before actually using.
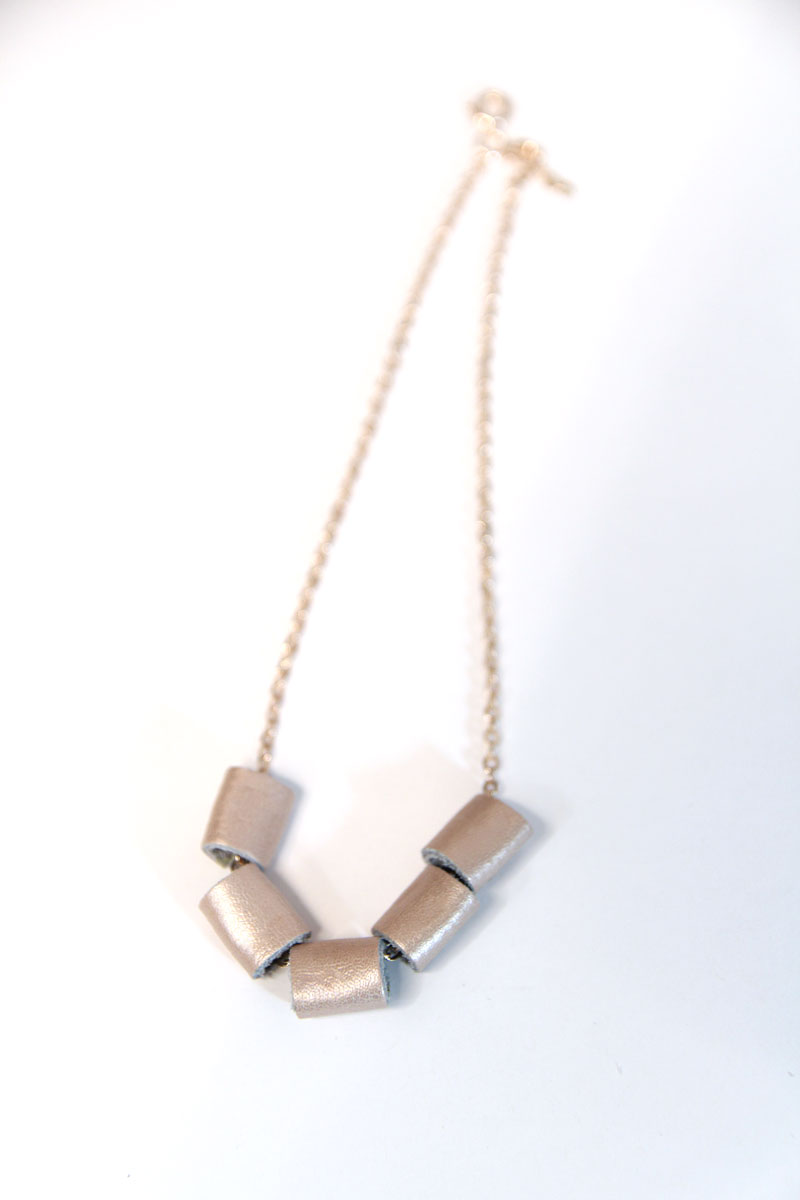
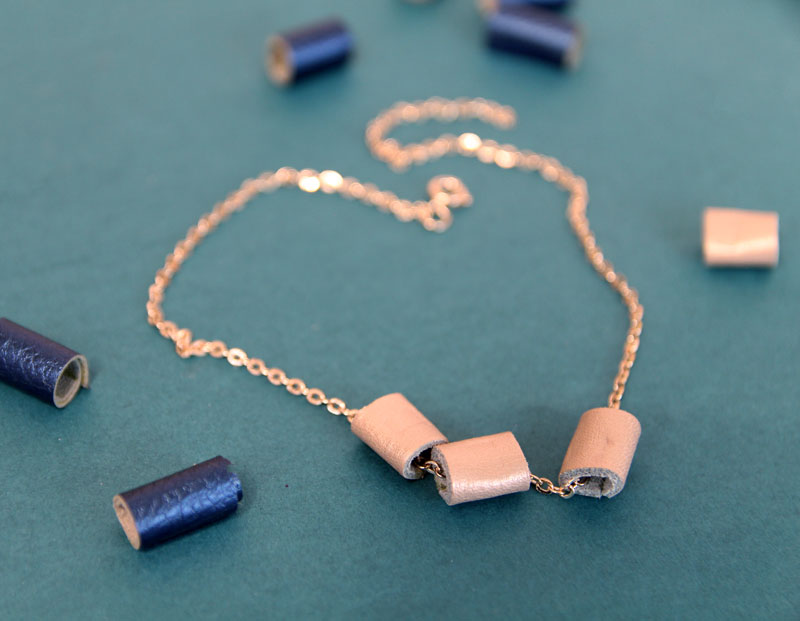
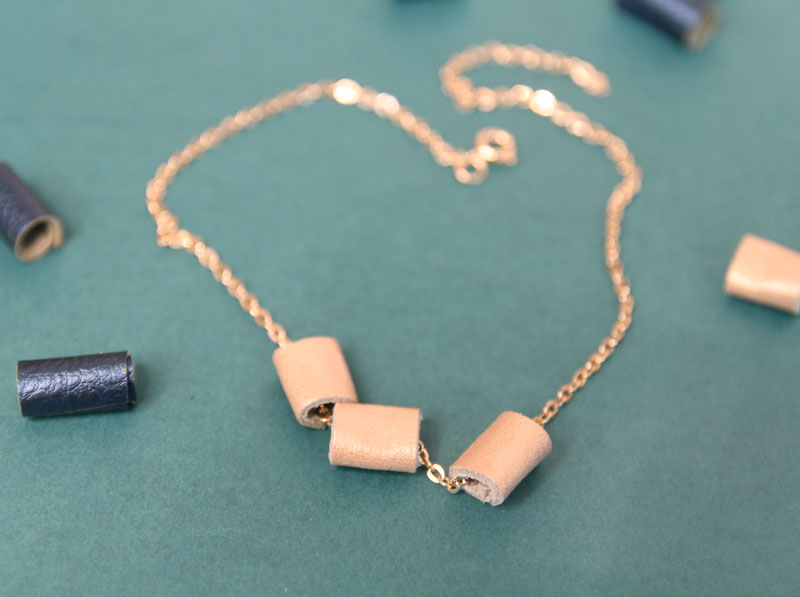
I strung these on a finished rose gold chain for a gorgeous, minimalist necklace.
Making faux leather beads
1- Cut to size. The width (short edge) determines how wide your bead will be. These are 3/4 inch. Length should be about two inches.
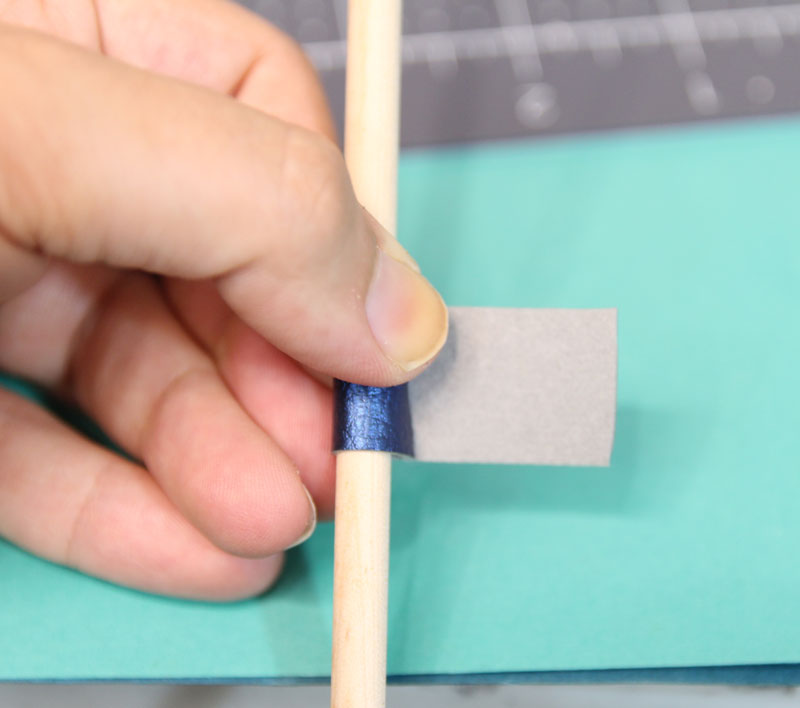
2. Roll around 1/4 inch dowel and measure to make sure the size works. Mark the beginning of the overlap.
3. Place rubber cement on the two sides that’ll overlap. I placed mine standing up on the surface to cure for 15-20 minutes or according to package instructions.
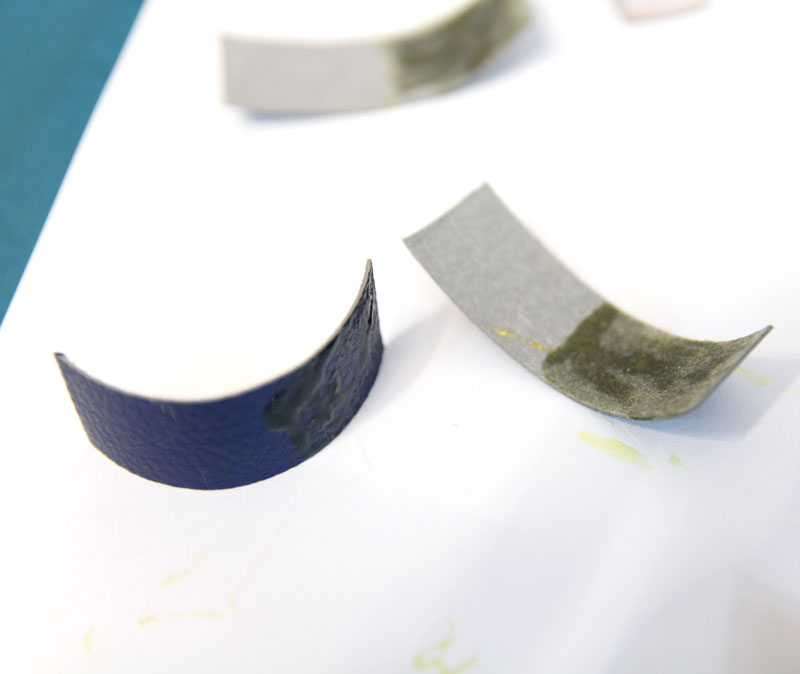
4. When ready, roll around the dowel starting with the side of the strip that has glue on the right side and then continue with the side that has glue on the backing so that the two glue portions overlap. Continue rolling to form your bead. If your rolling isn’t perfect, you can trim the bead down as needed.
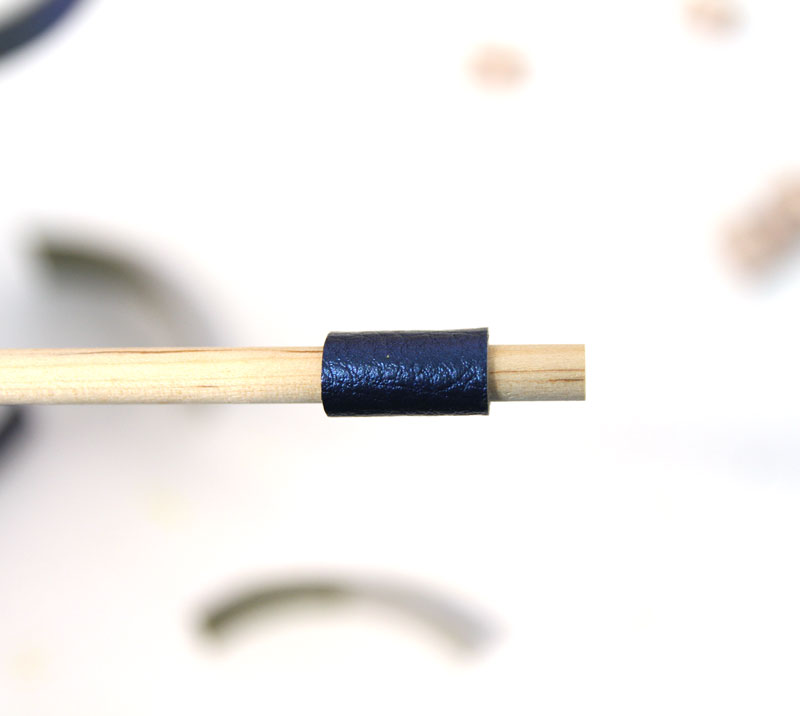
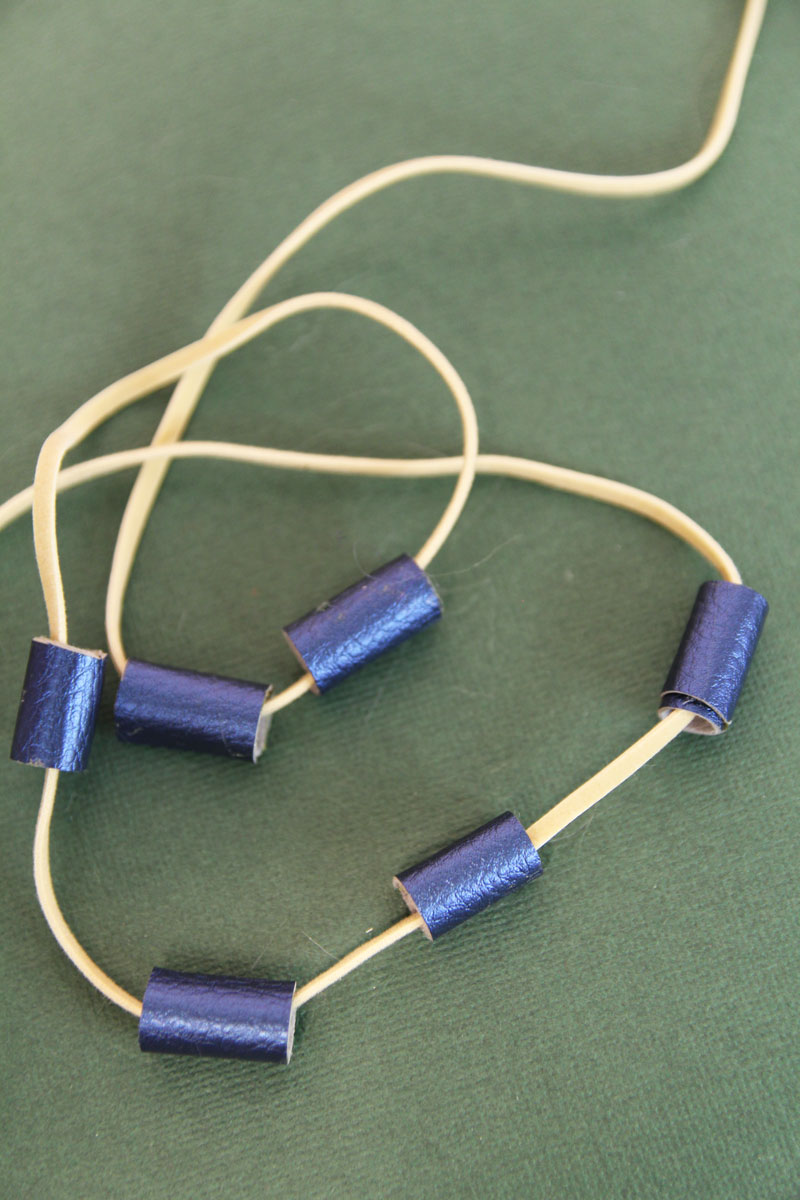
I strung my faux leather beads onto faux leather cording to make a wrap bracelet.
What will you be using these leather beads for? Comment below!

