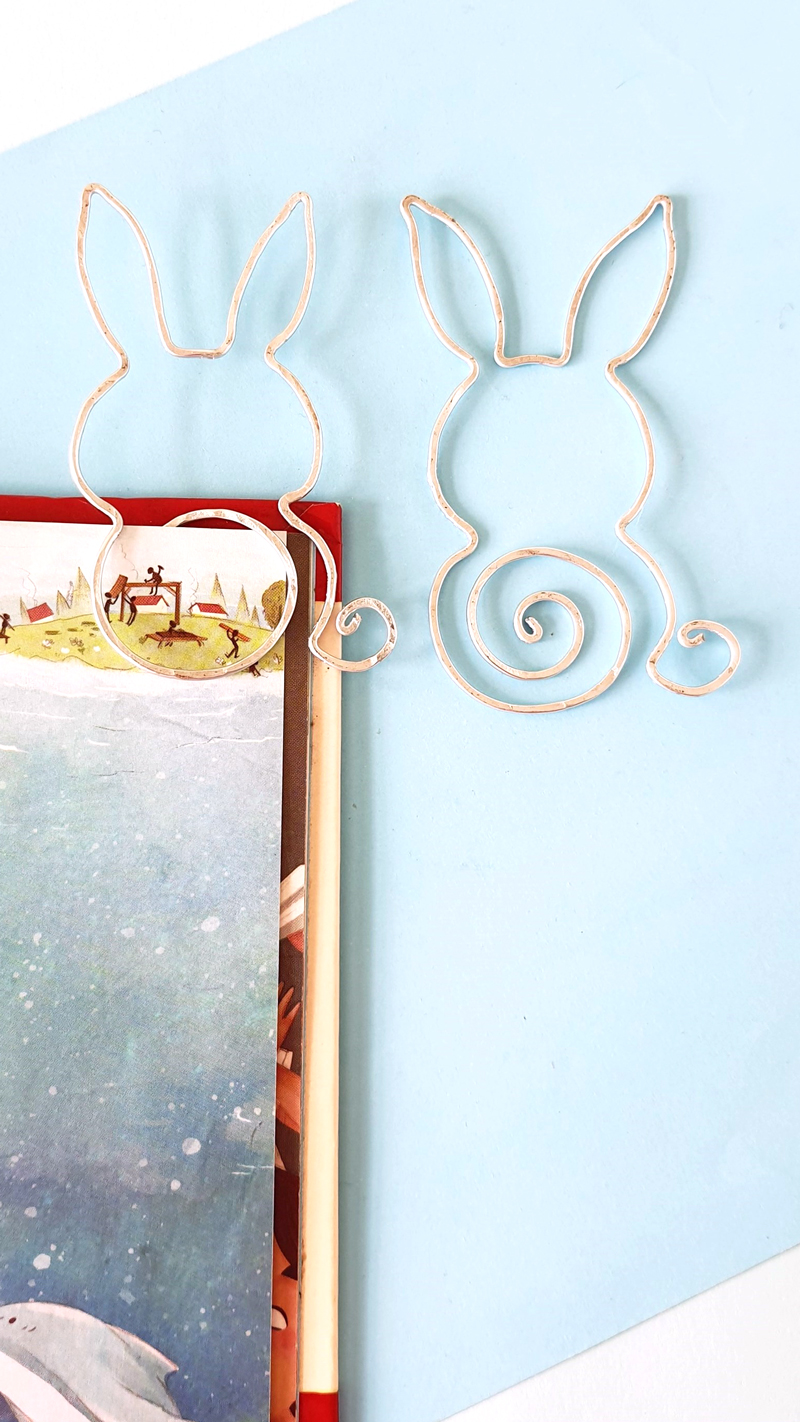
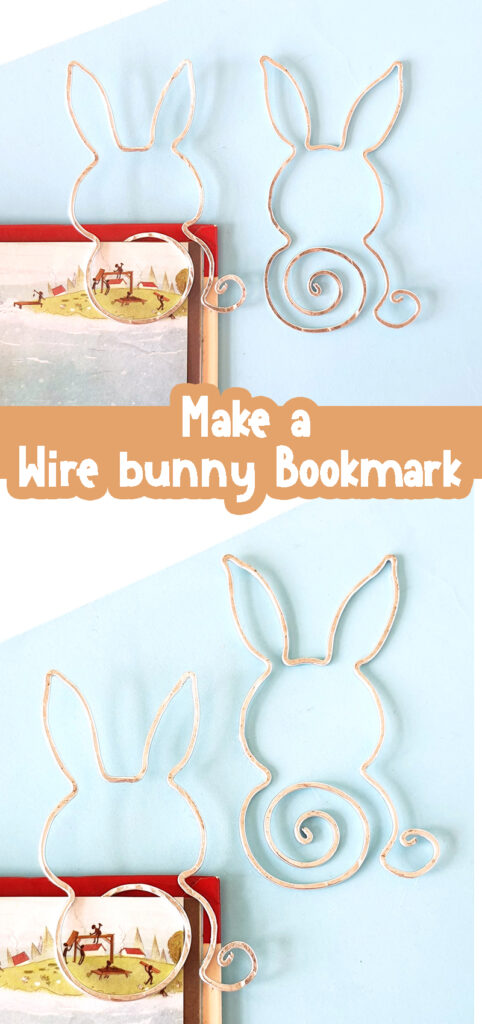
Learn how to make your own DIY wire bookmarks using a simple technique and a bunny template! When you’re done, check out how to wrap crystals with wire. This post contains affiliate links.
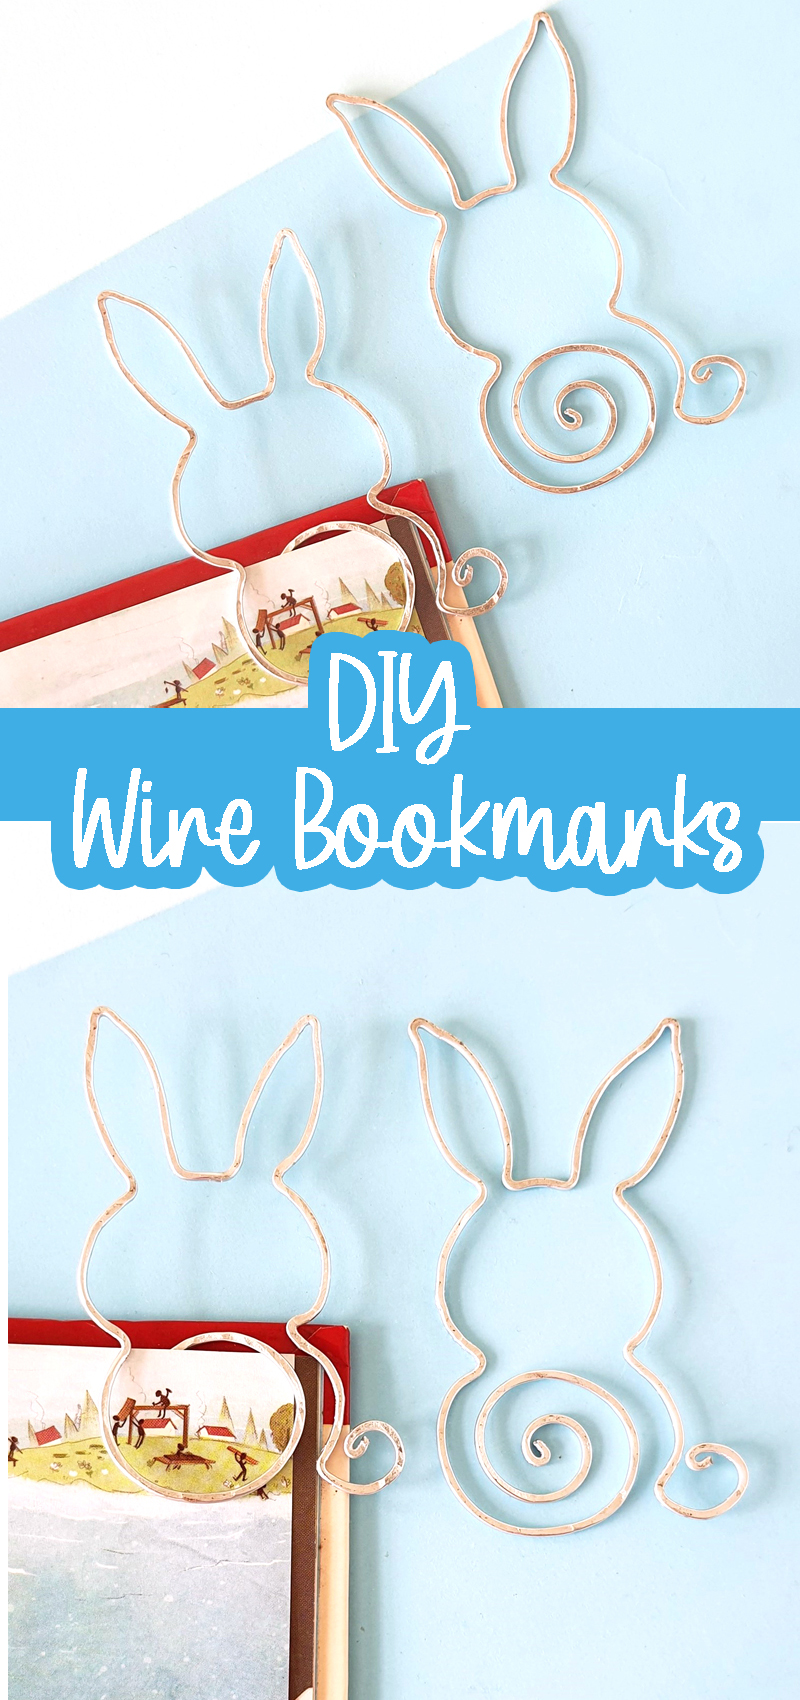
Who doesn’t love a bunny rabbit? This one may not be quite soft and fluffy, but he is definitely ready to cuddle up with you and your favorite book – or maybe a new book that you haven’t gotten to know just yet.
While DIY wire bookmarks aren’t exactly a beginner craft, it’s simple enough to learn how to form with our free downloadable template below. If you’ve never shaped wire before, it’s worth taking the time to give this a couple of tries. Before long, you’ll be giving these DIY wire bunny bookmarks as gifts to people who won’t believe you did it yourself!
And you won’t want to stop with bunnies!
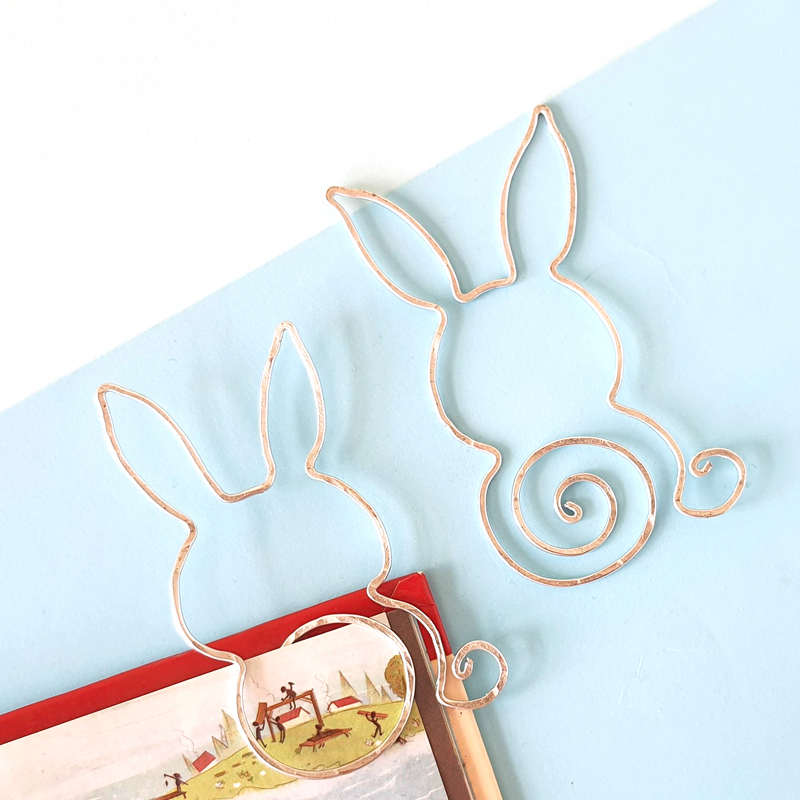
Craft wire is available in a variety of colors, so you can choose how you want this project to look. Or consider making the same thing in a few different colors for a beautiful gift set.
For this craft, you’ll need 18-20 gauge wire. A smaller gauge number means the wire is thicker – it may be harder to work with, but the shape will be sturdier in the end. I highly recommend going with a good quality 18 gauge jewelry wire to get fabulous results!
You’ll also need to use pliers. If you don’t already own pliers, don’t be intimidated – it is not expensive to purchase a simple set, and you’ll find them useful for all kinds of things once you have them!
Grab your supplies and let’s hop right into it!

Supplies Needed for your Bunny Bookmark
How to Make a DIY Wire Bookmark
Note: the final template was based on the finished project. The steps are photographed with an earlier sketched template.
1. Take your whole spool of wire and start using the loose end without cutting it off. Choose the size bunny you’d like to work with and cut it from your printed template.
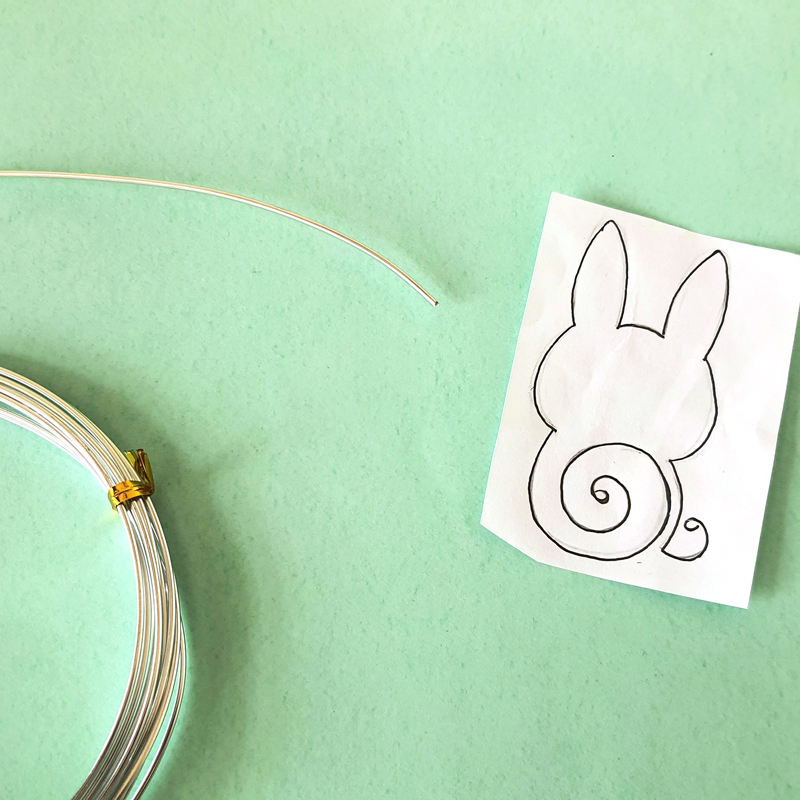
2. Use the tip of your pliers to make a small loop at the end of the wire. This will prevent you from having a sharp end poking out of your finished project.
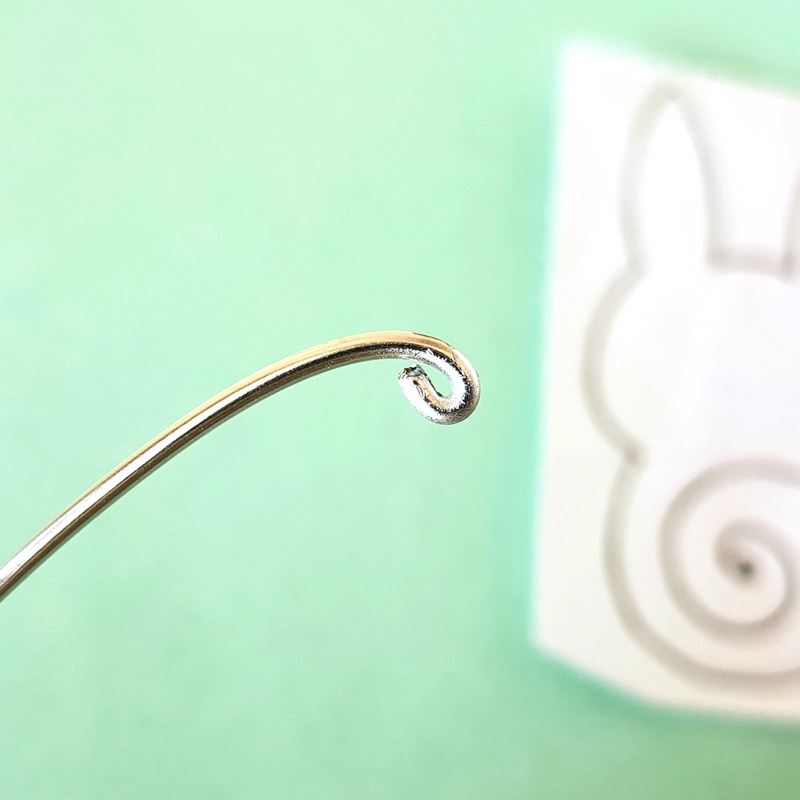
3. Begin forming the wire into a spiral, with the loop at the center. You can use the pliers to hold one end, or just use your fingers, whichever is easier for you. Follow the printed template as you circle around 2-3 times.
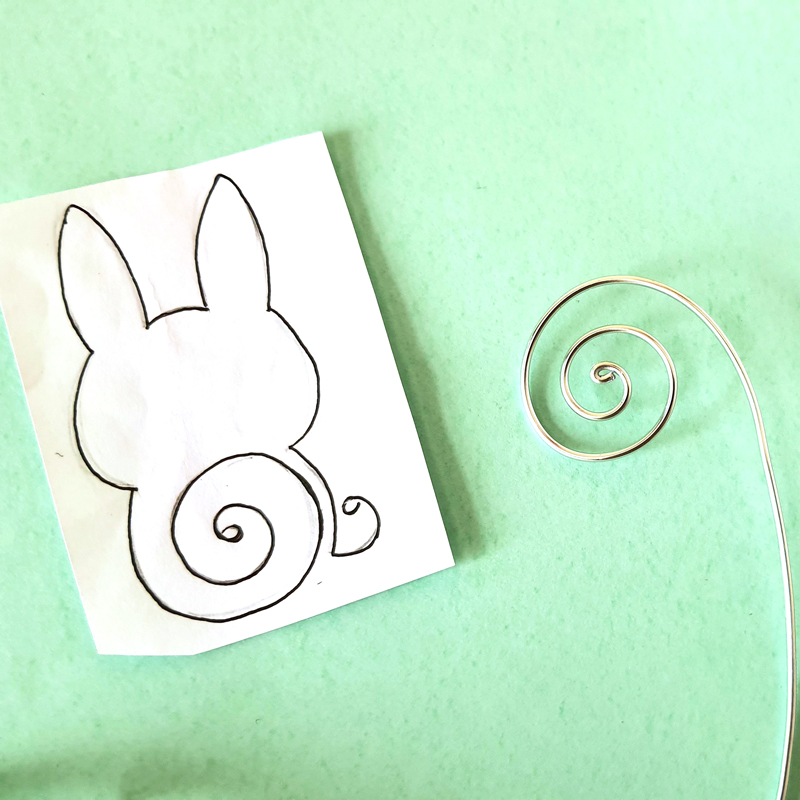
4. Hold your spiral against the template to check if the size is correct. If not, you can easily adjust it by pulling it looser or tighter. It does not need to match the template exactly; you can use the template as an approximate suggestion.

5. Use the flat-nosed pliers to bend the wire away from the spiral. This will form the bottom of the head.
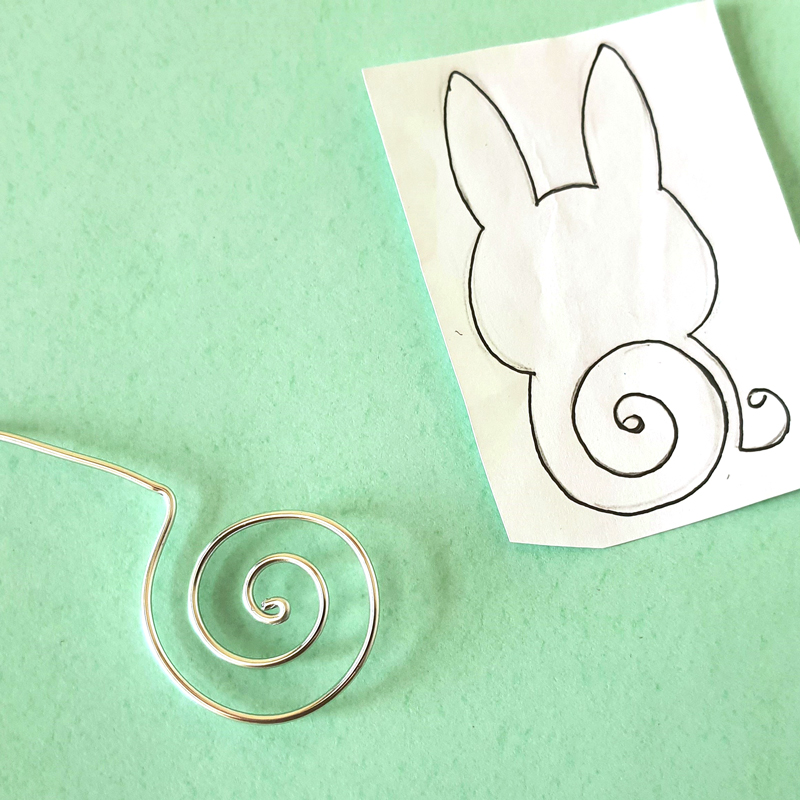
6. Holding your wire on top of the template, bend the side of the head along the printed outline.
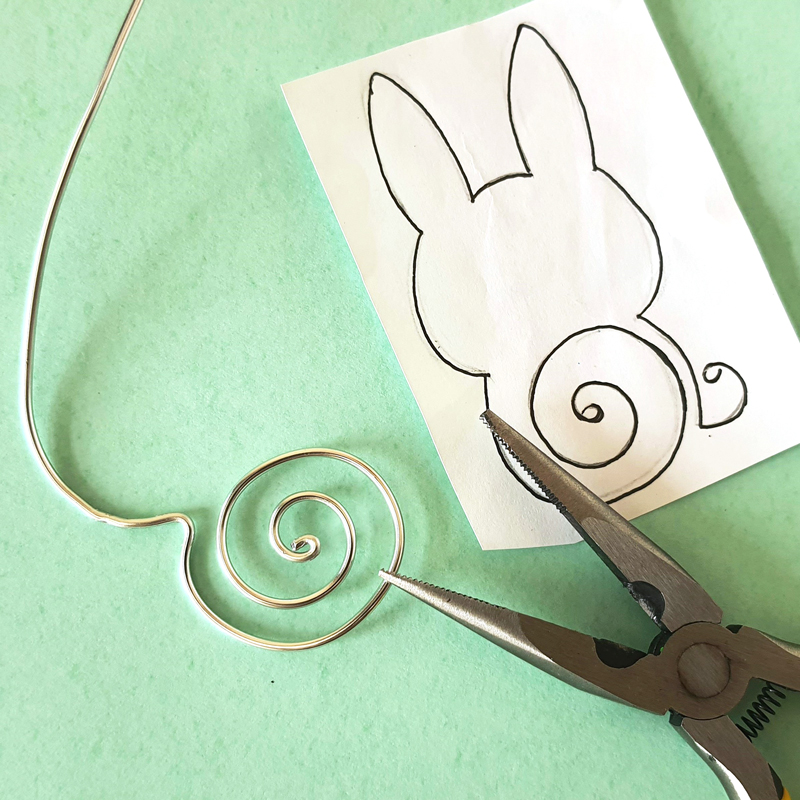
7. Use the flat-nose pliers to bend the bottom of the ear away from the curve of the head.
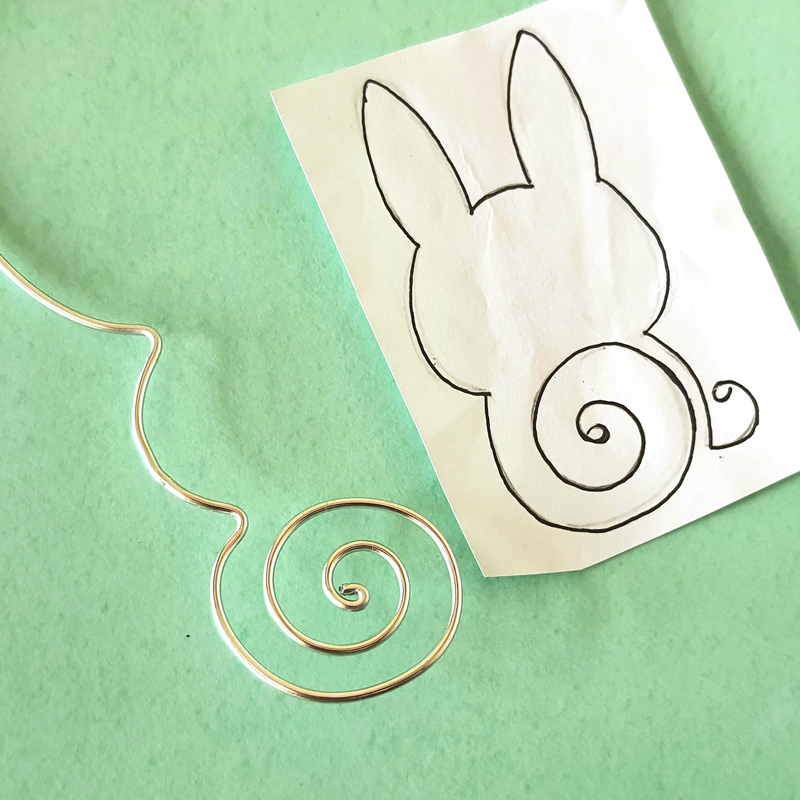
8. Following the shape of the outline – again, as a model/suggestion, it does not need to line up exactly – find the tip of the ear and use the pliers to bend it over. Use the pliers to pinch the tip of the ear and make it a little pointy.
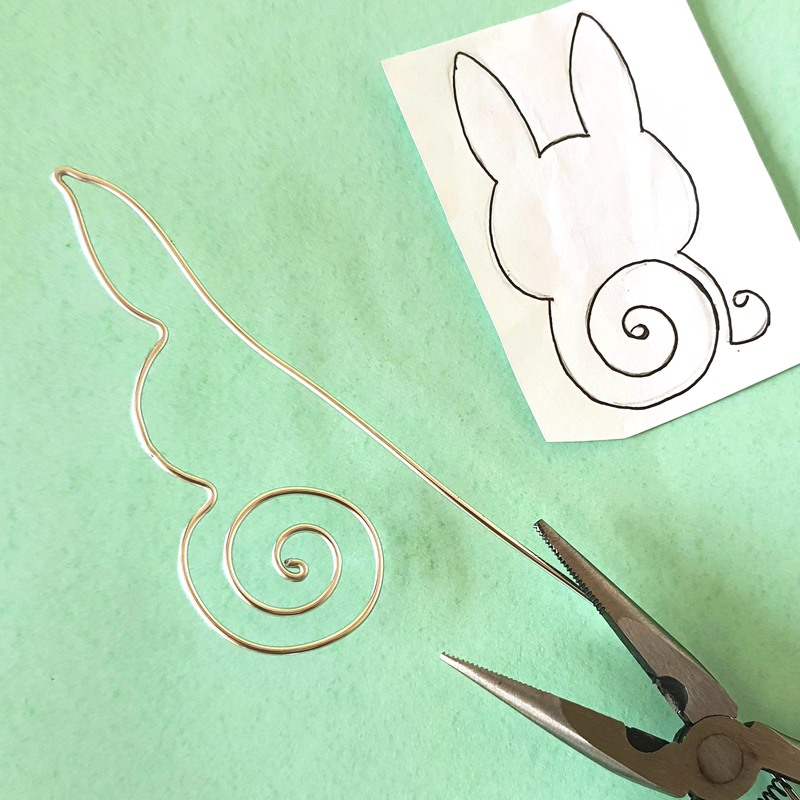
9. Continue using the pliers to bend and pinch as you follow the outline for the top of the head and the other ear.
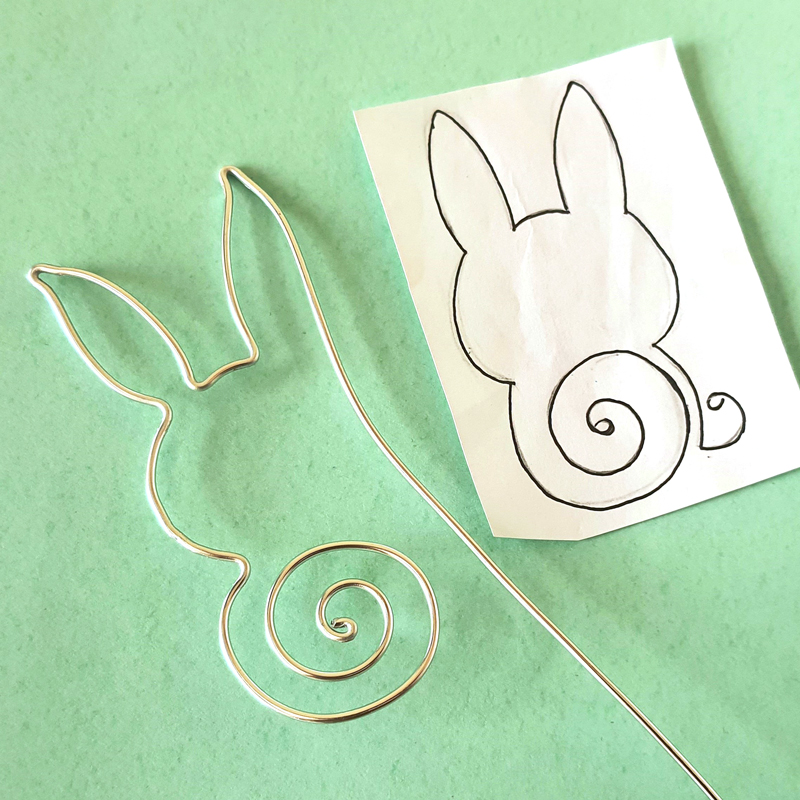
10. Bend the remaining side of the head according to the outline, the same way you did the first side of the head.
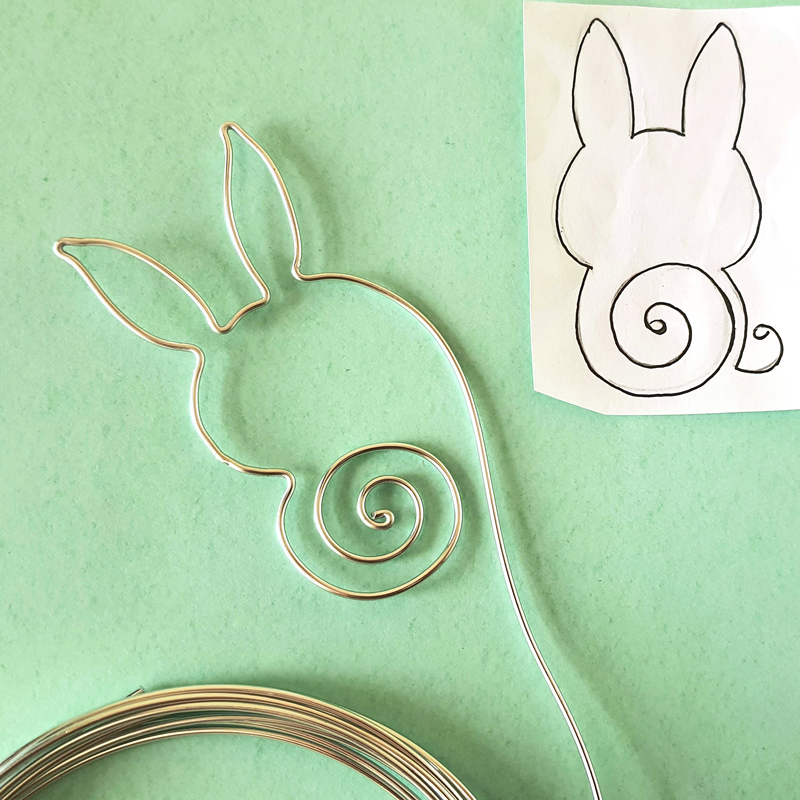
11. Curve the wire around the shape of the body until you’re back near the bottom.
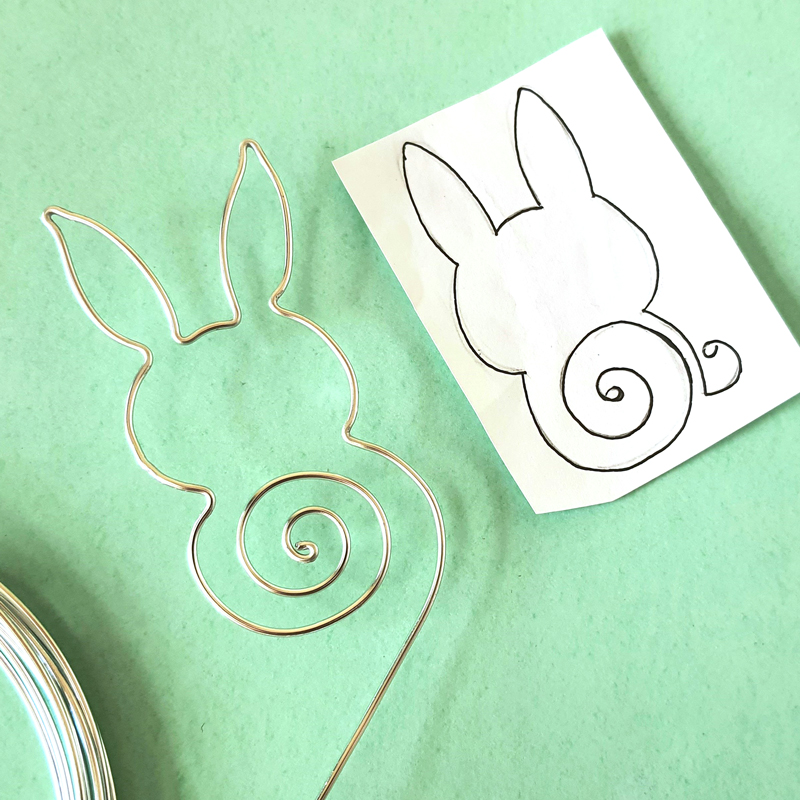
12. Use the pliers to bend the wire away from the body and pull it a little upward to form the bottom of the tail.
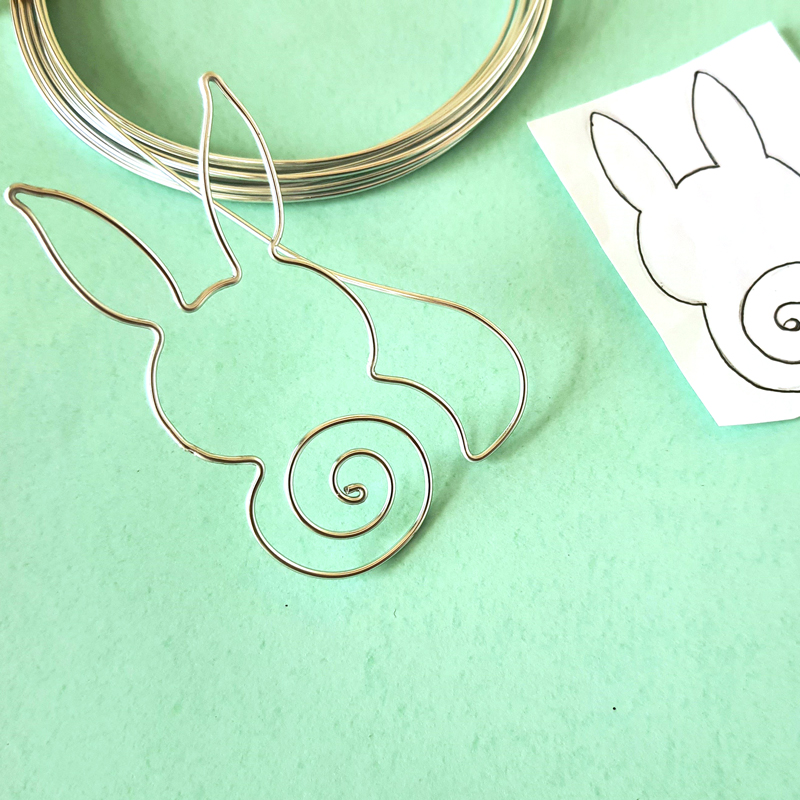
13. Measure about an inch of wire for the tail, and cut off the extra using a wire cutter.
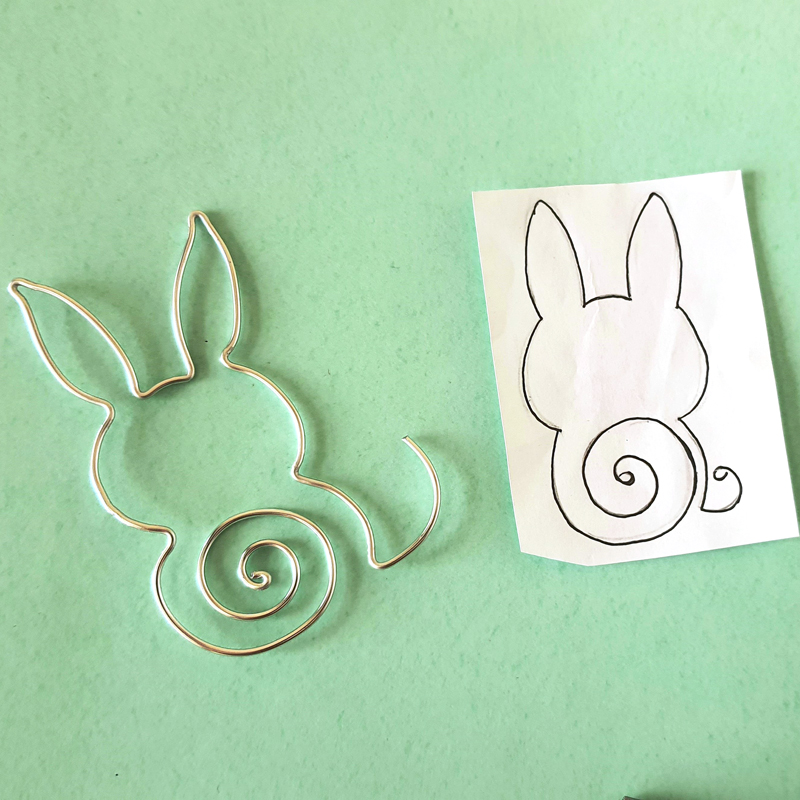
14. Use the tip of your pliers (or needle-nose pliers) to create a small loop at the end of the wire like you did at the beginning of the project.

15. Bend the wire according to the template to form the tail shape.
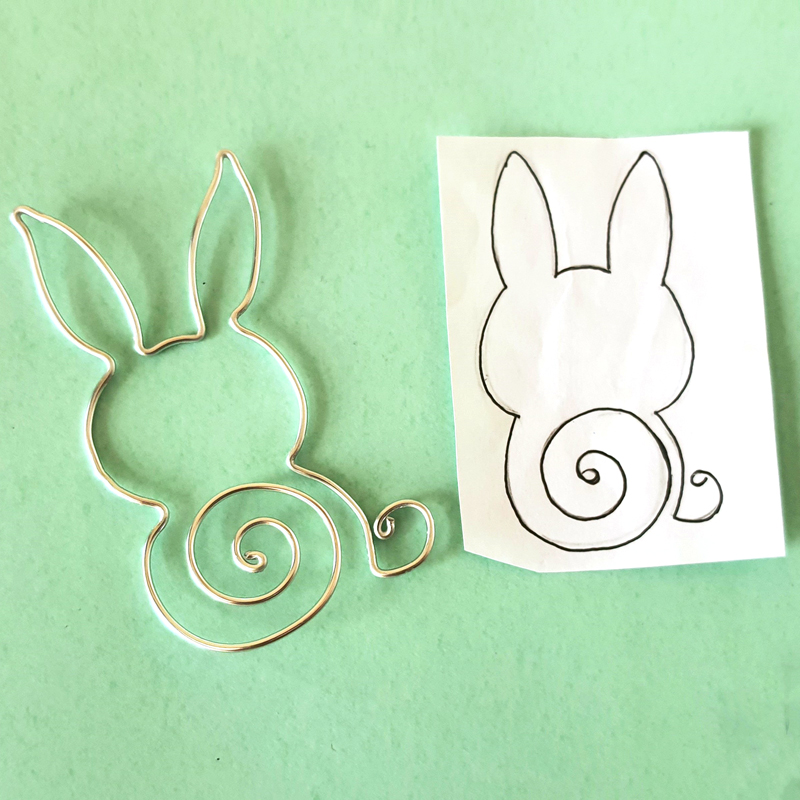
16. Use your hands to make any adjustments to the bunny shape if you feel it’s needed. To flatten and work harden: Place your bunny on a steel bench block positioned on a leather sandbag. The sandbags helps absorb shocks and keep things in place.
Use a chasing hammer to flatten the project. Tap softly and flip your project over to hammer the other side as it curls up. Keep flipping, adjusting, and hammering until you’re happy with the final result.
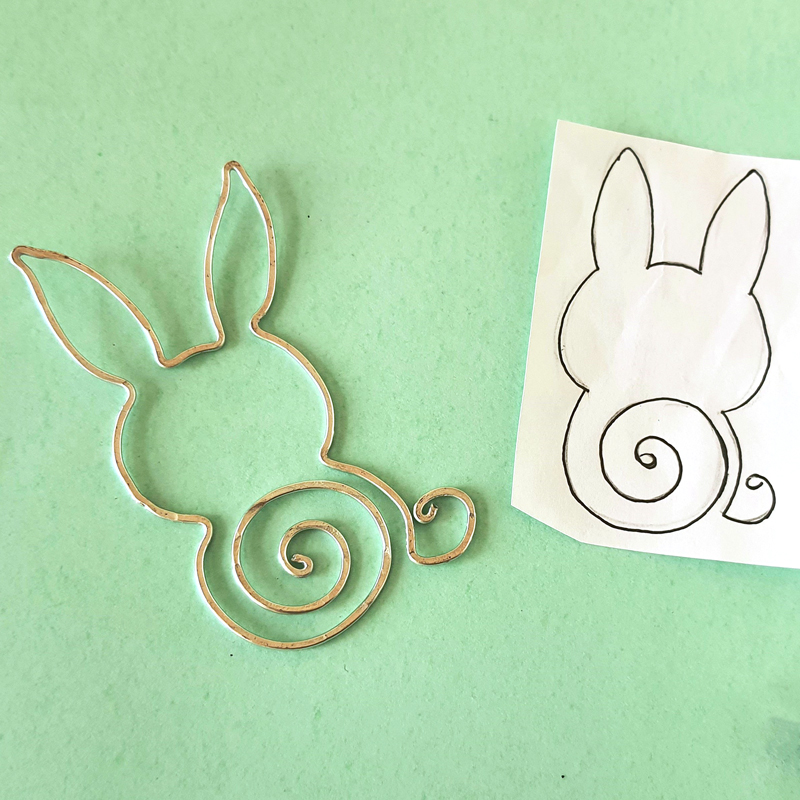
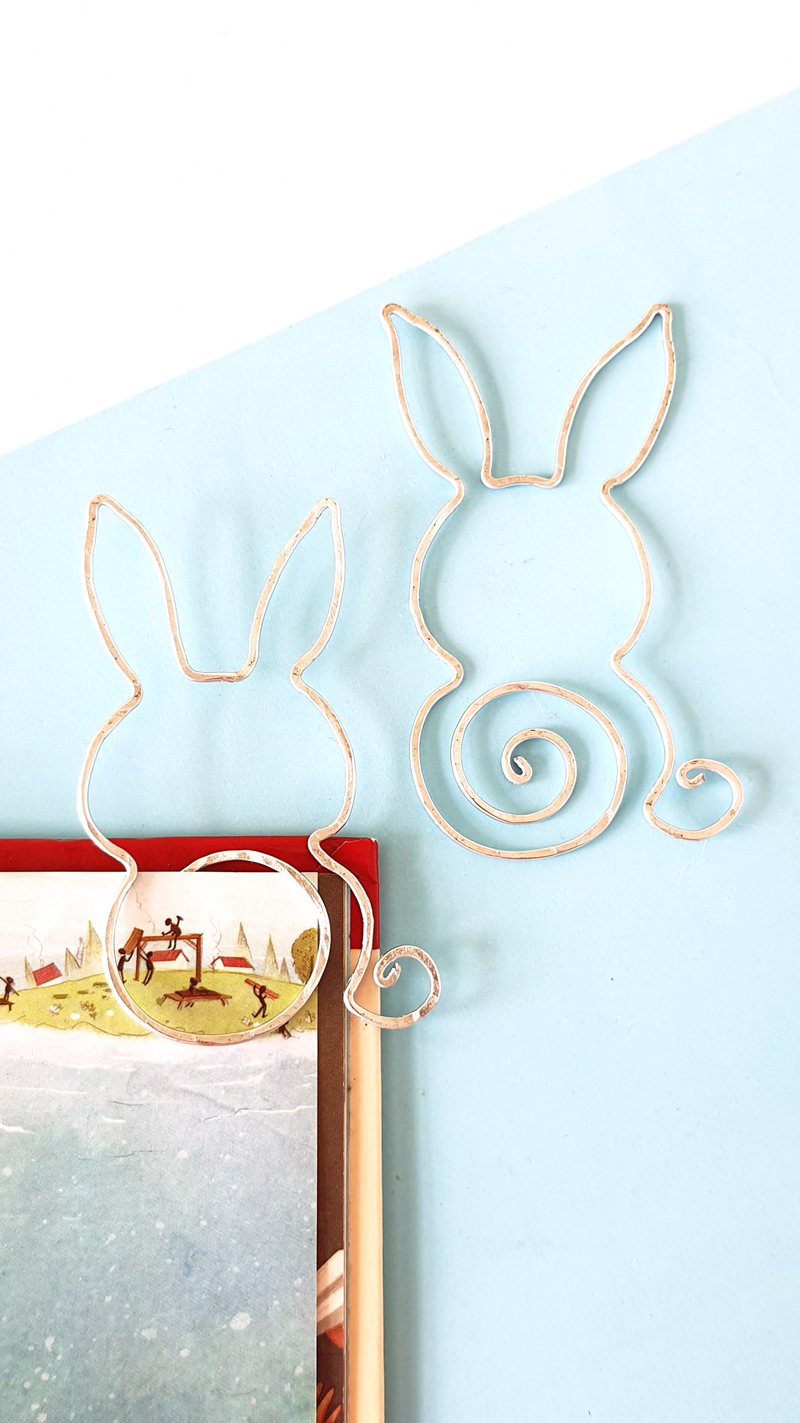
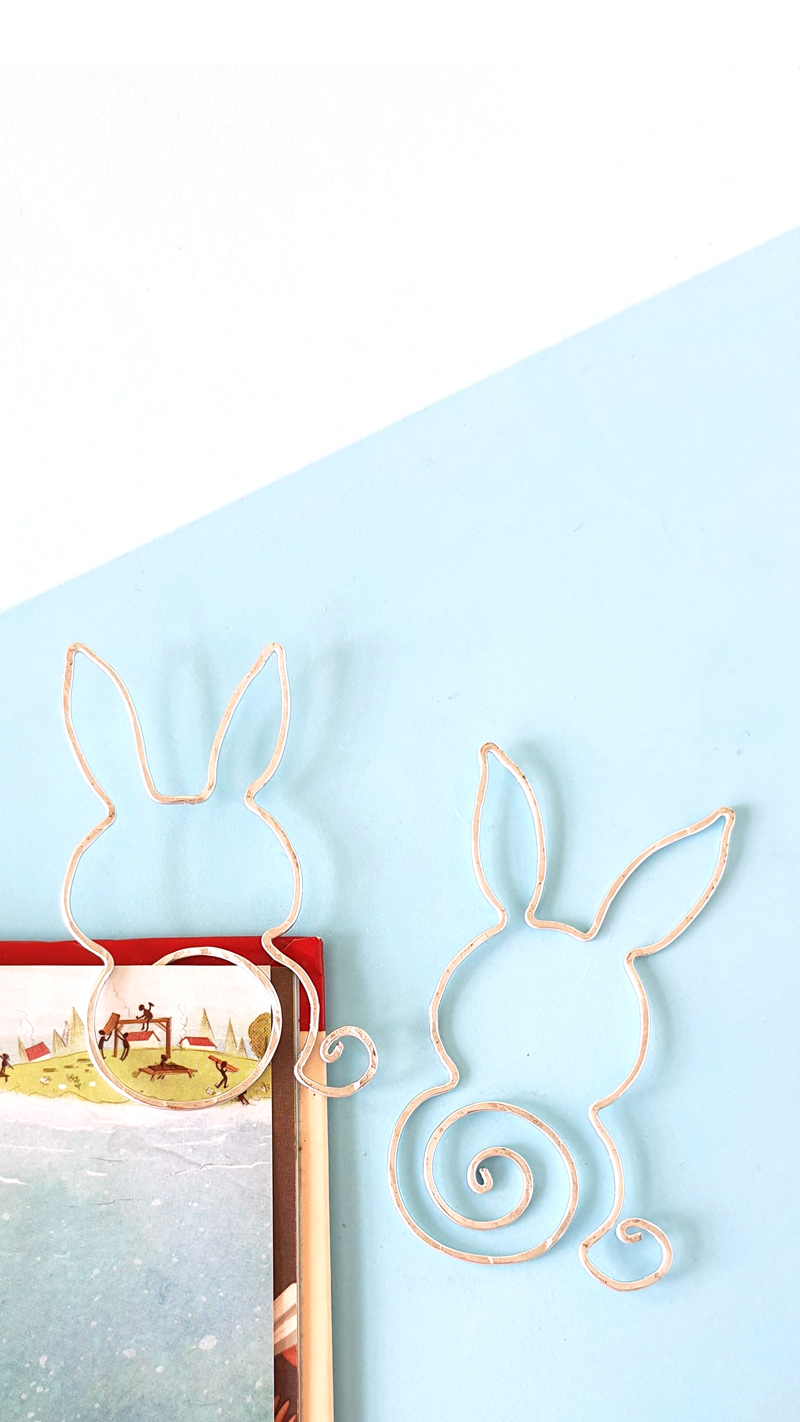
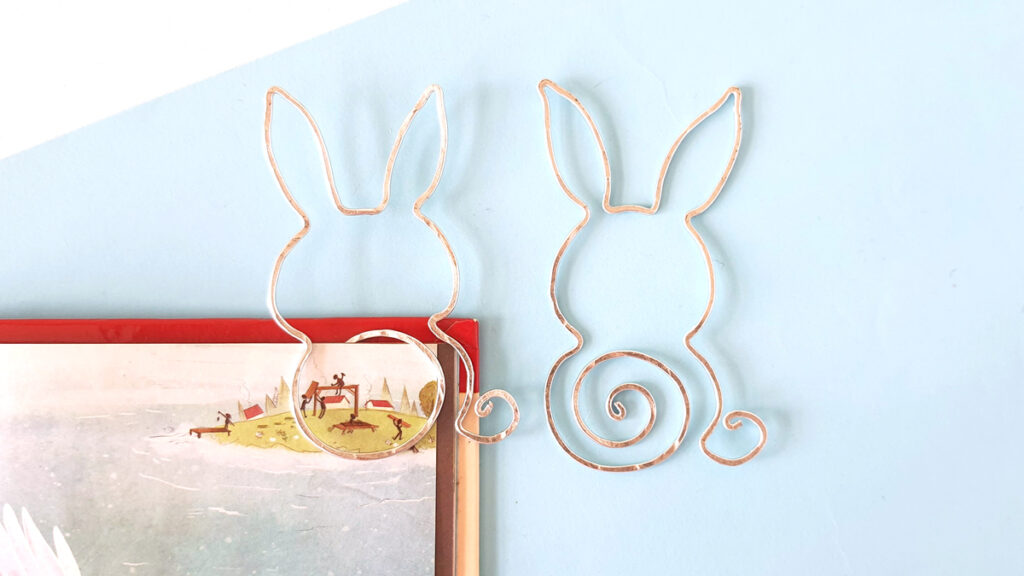
To use the bookmark, slide the body swirl over a page like a paperclip. The head and ears will peek out of the closed book. How sweet!
